How To Edit Green Cast On Skin - Photoshop Tutorial
It's spring now, which means everything in nature is coming back to life! YAY! Here come all the shoots in gorgeous parks, grassy fields, and fluffy, flowery gardens. I love shooting in all these places, and basically anywhere green is beautiful out here in the PNW. But with green grass comes the eerie, sickly yellow-green cast on skin in your portraits. NO THANK YOU.
This tutorial is one way to address this problem, and there are others for both Photoshop and Lightroom. This technique so far has yielded the best results with the most control, so that's what I'm going to be sharing today! If you want to see other ways to achieve this result, let me know in the comments!
But How Do You Avoid It?
The best way to avoid green cast from grass is to not put your subjects on grass. And let's be honest, most of the time that's either not possible, or just not giving the same effect as when your subject is surrounded by luscious spring grass (because we all know when summer comes, the grass is brown again lol)
If your light is above your subject (where it normally is,) the color of whatever your subject is standing/sitting on is going to reflect back on to your subject. Therefore, green grass, green cast. Neutral ground like concrete, light colored tile, or sand is not going to have much of a cast if any. This is obviously ideal for portraits, but not always obtainable. I finally have honed this skill and now I'm sharing it with you! This is a Photoshop tutorial, and I have the Adobe CC suite, which means it's always updated to the most recent version of Photoshop. Let's do it!
Bye Bye, Green Skin.
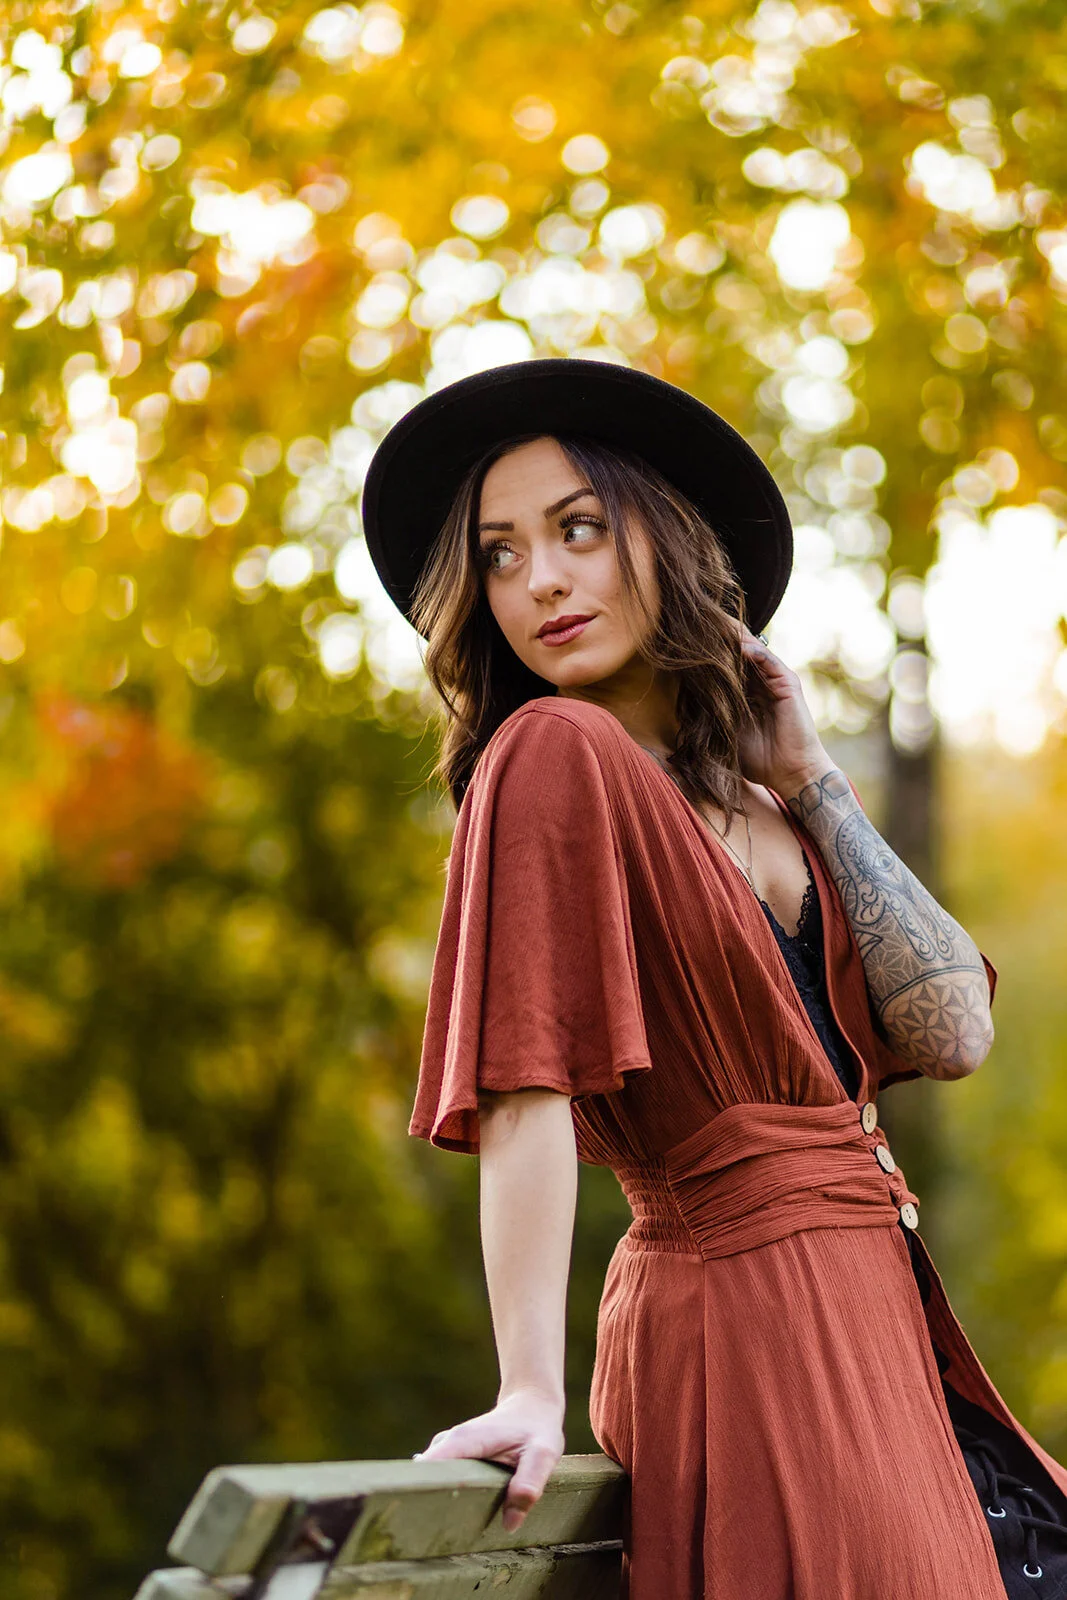
First, you're gonna want to open your cute grassy photo in Photoshop. I'm using a shot from my recent senior shoot out at the Pittock Mansion, which was so gorgeous, but gosh darn that weird yellow-green cast on Emily's beautiful face!
I hope this was helpful for you guys! I know I'm going to be using this technique all the time this summer, and hopefully this will you give you confidence to shoot out in the gorgeous spring green and not be afraid of your post-processing later.
Next, you want to add a selective color adjustment layer, and use the scroll down menu to select 'Yellow'. You can also go to the upper left corner and select Layer > New Adjustment Layer > Selective Color to get to this point.
Play around with the yellow slider to see where the cast is nicely muted and even with the rest of the face's skin tone. For this image, I brought the yellow down to -20. At this point, the adjustment layer will affect the whole image, but just pay attention to what the skin is looking like. We're going to isolate it in the next step.
Click over to the mask properties, by clicking the little rectangle with a circle cut out of it at the top of the dialog box. (see photo below)
Now you want to invert the mask, by clicking 'invert' in the main dialog box. Then, with your mask still selected, choose the brush tool on the left hand side of the screen. You can also just press 'b' on your keyboard. I use a soft edged brush, and this can be changed by selecting the second drop down menu from the left at the top of the screen. Make your 'Hardness' anywhere between 0-25.
See those two black and white boxes on the left side under all those tools? Make sure they are black and white (if not, change them to that) and then press 'x' until the white box is in front of the black one like it is here.
Then, with your mask still selected, choose the brush tool on the left hand side of the screen. You can also just press 'b' on your keyboard. I use a soft edged brush, and this can be changed by selecting the second drop down menu from the left at the top of the screen. Make your 'Hardness' anywhere between 0-25.
See those two black and white boxes on the left side under all those tools? Make sure they are black and white (if not, change them to that) and then press 'x' until the white box is in front of the black one like it is here
Use the brush to paint over the areas you want to reveal the adjustment layer. A good thing to remember about layer masks is this: "black conceals and white reveals." Since we inverted the mask earlier, it basically put a solid mask over the image that hides or conceals the affect of the adjustment layer. So when you paint over it with white it shows or reveals the effect underneath only where you paint. This allows for you to control where the adjustment layer shows or doesn't show. In this case, We just want to counteract the yellow green cast on the skin, so I only need to paint where there is that weird color.
This image below shows you my mask and where I've painted over to reveal the adjustment layer on the image. The red is where the mask is hiding the adjustment, and where it's clear on her face and arms is where I've painted over to reveal. The red is not actually on your image, it's just showing you where your mask is. You can toggle seeing the red or not by pressing the backslash '\' on your keyboard. I personally don't use this feature, but found it helpful for the sake of a tutorial.
Then save that puppy out and you've got a vibrant, green, grassy photo without the nasty color cast! Here's a before and after of my photo, you can especially see the difference on the neck and under the eyes.
I hope this was helpful for you guys! I know I'm going to be using this technique all the time this summer, and hopefully this will you give you confidence to shoot out in the gorgeous spring green and not be afraid of your post-processing later.
What Did You Think?
Did you like this? Was this tutorial helpful? Leave a comment below and let me know, and tell me what you want to learn next! Thanks so much for reading, see you soon! xo


